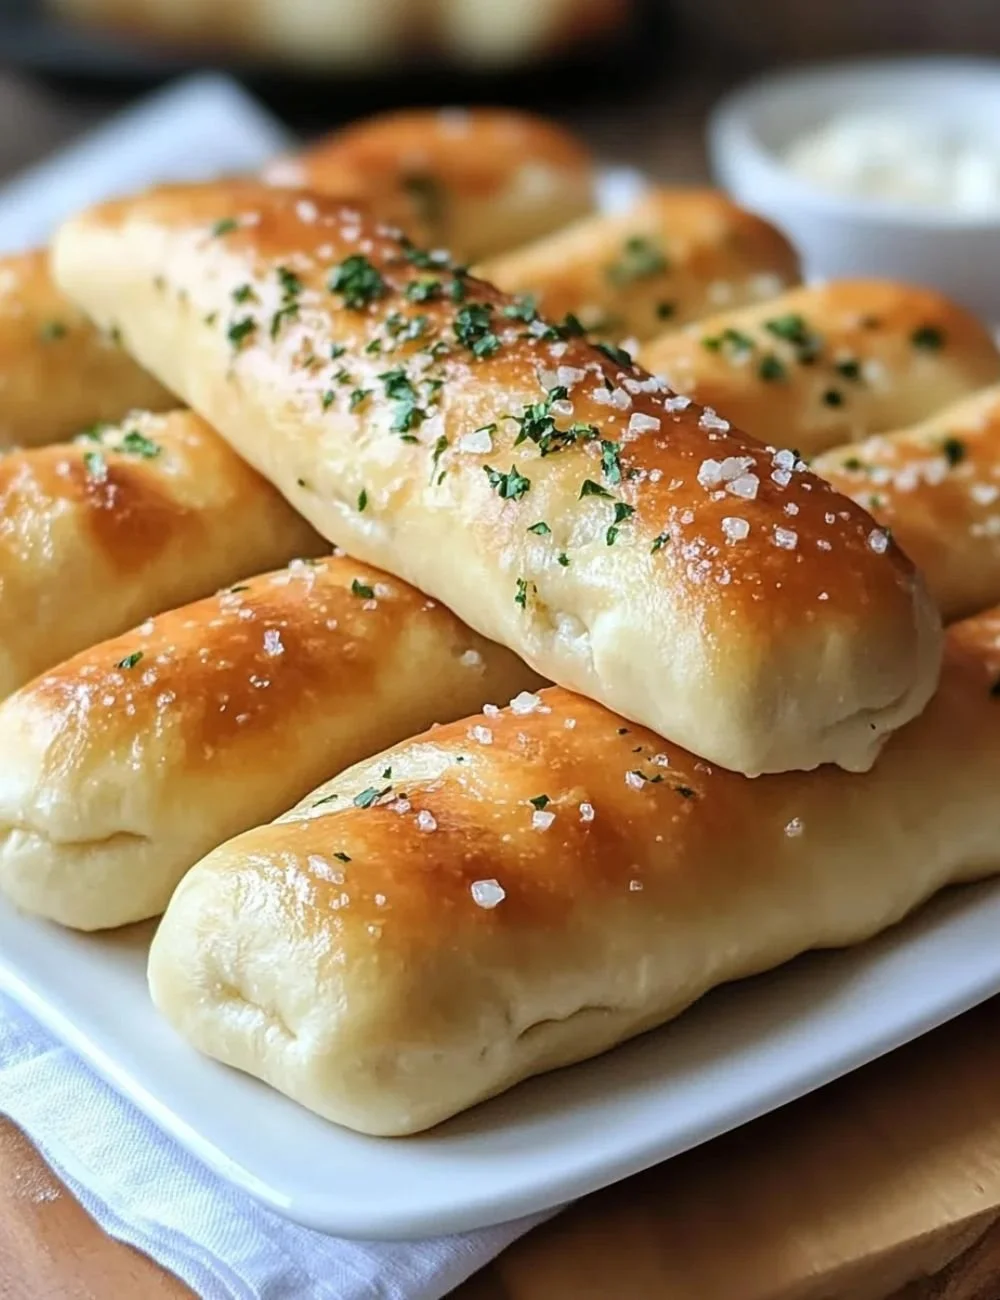
If you love warm, soft breadsticks with a buttery garlic finish, these Olive Garden–style breadsticks are a must-try. They bake up with a golden exterior and a soft, pillowy inside that smells of olive oil and garlic. Pair one with a bowl of soup or keep a stack on the table for family meals; they disappear fast. For a classic combo, try them alongside the restaurant favorite Olive Garden Chicken Gnocchi Soup for a cozy meal.
Recipe Information
- Prep Time: 1 hour 50 minutes (includes rising time)
- Cook Time: 12 minutes
- Total Time: 2 hours 2 minutes
- Servings: 12 breadsticks
- Difficulty Level: Easy
Nutrition Information
- Calories per serving: ~200 kcal
- Protein: ~4 g
- Carbohydrates: ~32 g
- Fat: ~6 g
- Fiber: ~1.5 g
- Sugar: ~2 g
- Sodium: ~400 mg
Why Make This Olive Garden Breadsticks
These breadsticks are soft, slightly chewy, and buttery with a light garlic finish. They come together with simple pantry ingredients and reward you with that familiar restaurant taste. They are perfect for weeknight dinners, parties, or when you want fresh bread without fuss. The texture is pillowy inside with a delicate golden crust, and the aroma of melted butter and garlic is irresistible.
How to Make Olive Garden Breadsticks
This recipe uses active dry yeast and a short knead to create a soft dough that rises twice for the best texture. You can shape the sticks longer or shorter depending on preference. Follow the timed rises and a quick bake for golden, tender breadsticks.
Ingredients:
- 4 cups all-purpose flour
- 2 teaspoons salt
- 2 tablespoons sugar
- 1 tablespoon active dry yeast
- 1 1/2 cups warm water
- 3 tablespoons olive oil
- Garlic salt (to taste)
- Butter (melted, for brushing)

Directions:
Step 1: Preparation
In a small bowl, stir the warm water, sugar, and active dry yeast. Let this sit for 5–10 minutes until the surface becomes foamy. If the mix does not foam, the yeast may be dead; try with new yeast and slightly warmer water (not over 110°F / 43°C).
Step 2: Mixing
In a large bowl, whisk together the flour and salt. Slowly pour in the foamy yeast mixture and the olive oil. Stir until a rough dough forms. Turn the dough out onto a lightly floured surface and knead for 5–7 minutes until the dough is smooth and elastic.
Step 3: Cooking
Place the kneaded dough in a greased bowl, cover with a clean towel or plastic wrap, and let it rise in a warm spot for 1–2 hours, until doubled in size. After it has risen, punch down the dough and divide it into 12 equal pieces. Shape each piece into a long breadstick and place them on a baking sheet lined with parchment paper. Cover and let them rise again for 20–30 minutes. While they rest, preheat your oven to 400°F (200°C). Bake the breadsticks for 10–12 minutes, until the tops turn golden.
Step 4: Finishing
Right after the breadsticks come out of the oven, brush them with melted butter and sprinkle garlic salt to taste. Let them cool just enough to handle. Serve warm for the best texture and flavor.
How to Serve Olive Garden Breadsticks
Serve warm with soups, salads, or pasta. They pair wonderfully with marinara, herbed butter, or the creamy gnocchi soup mentioned earlier. For parties, arrange them in a basket with small bowls of dipping sauces: garlic butter, marinara, or a cheesy dip. They also make great sandwich rolls if you split them open and fill with deli meats or melted cheese.
How to Store Olive Garden Breadsticks
- At room temperature: Store in an airtight container or zip-top bag for up to 2 days to keep them soft.
- Refrigeration: You can refrigerate for up to 4 days, but allow sticks to come to room temperature and warm slightly before serving.
- Freezing: Wrap cooled breadsticks individually or in pairs in foil and place in a freezer bag for up to 3 months. Reheat from frozen in a 350°F (175°C) oven for 10–12 minutes or until warmed through.
Expert Tips for Perfect Olive Garden Breadsticks
- Water temperature matters: Keep water warm but not hot — about 100–110°F (37–43°C) — to activate the yeast without killing it.
- Knead until smooth: A 5–7 minute knead develops enough gluten for that soft, chewy texture.
- Double rise helps: Letting the dough rise twice gives you a lighter crumb.
- Brush right away: Brushing with melted butter while the sticks are hot lets the butter soak in and gives the best flavor.
- Use garlic salt sparingly: Garlic salt can be strong; sprinkle a little, taste one, then add more if needed.
- For even baking: Make the breadsticks similar in thickness to ensure they bake at the same rate.
Delicious Variations
- Cheesy breadsticks: Sprinkle grated Parmesan or mozzarella before baking.
- Herb butter: Mix chopped fresh parsley or dried Italian herbs into the melted butter before brushing.
- Whole wheat twist: Replace 1 cup of all-purpose flour with whole wheat flour for a nuttier flavor (add a splash more water if dough feels dry).
- Garlic knots: Instead of long sticks, tie pieces into knots and bake—perfect for dipping.
- Spicy garlic: Add a pinch of crushed red pepper flakes to the butter for a mild kick.
Frequently Asked Questions
Q: Can I use instant yeast instead of active dry yeast?
A: Yes. If using instant yeast, mix it directly into the dry ingredients and skip the initial proofing step. You may need slightly less rise time.
Q: Why didn’t my dough rise?
A: Common causes are old yeast, water that was too hot or too cold, or a drafty/too-cold rise spot. Try proofing yeast in warm water first to confirm it foams.
Q: Can I make the dough ahead of time?
A: Yes. After kneading, place the dough in a greased bowl, cover, and refrigerate for up to 24 hours. Let it come to room temperature and rise until doubled before shaping and baking.
Q: How do I get a softer crust?
A: Brush the breadsticks with butter right after baking and keep them in a sealed container once slightly cooled. You can also add a small oven-safe dish of water in the oven while baking to increase humidity slightly.
Q: My breadsticks browned too quickly on top but weren’t cooked inside. What should I do?
A: Lower the oven temperature by 25°F (about 15°C) and bake a couple minutes longer. You can also tent loosely with foil halfway through baking to prevent over-browning.
Q: How can I make these gluten-free?
A: Use a good-quality gluten-free all-purpose flour blend that includes xanthan gum. Texture will differ; handle the dough gently and expect a denser stick.
Conclusion
These Olive Garden–style breadsticks are simple, comforting, and full of buttery garlic flavor. They take a little time because of the rises, but the steps are easy and the reward is warm, soft breadsticks perfect for any meal. Try the variations, store extras for quick reheats, and enjoy sharing these with family and friends. Give them a go—fresh bread is worth the small effort.
Print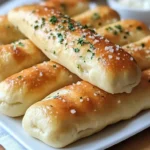
Olive Garden Style Breadsticks
- Total Time: 122 minutes
- Yield: 12 breadsticks 1x
- Diet: Vegetarian
Description
Warm, soft breadsticks with a buttery garlic finish, perfect for pairing with soups or family meals.
Ingredients
- 4 cups all-purpose flour
- 2 teaspoons salt
- 2 tablespoons sugar
- 1 tablespoon active dry yeast
- 1 1/2 cups warm water
- 3 tablespoons olive oil
- Garlic salt (to taste)
- Butter (melted, for brushing)
Instructions
- In a small bowl, stir the warm water, sugar, and active dry yeast. Let this sit for 5–10 minutes until the surface becomes foamy.
- In a large bowl, whisk together the flour and salt. Slowly pour in the foamy yeast mixture and the olive oil. Stir until a rough dough forms.
- Turn the dough out onto a lightly floured surface and knead for 5–7 minutes until the dough is smooth and elastic.
- Place the kneaded dough in a greased bowl, cover with a clean towel or plastic wrap, and let it rise in a warm spot for 1–2 hours, until doubled in size.
- After it has risen, punch down the dough and divide it into 12 equal pieces. Shape each piece into a long breadstick and place them on a baking sheet lined with parchment paper.
- Cover and let them rise again for 20–30 minutes. While they rest, preheat your oven to 400°F (200°C).
- Bake the breadsticks for 10–12 minutes, until the tops turn golden.
- Right after the breadsticks come out of the oven, brush them with melted butter and sprinkle garlic salt to taste. Let them cool just enough to handle. Serve warm for the best texture and flavor.
Notes
Store in an airtight container for up to 2 days or refrigerate for up to 4 days. For freezing, wrap individually and place in a freezer bag for up to 3 months.
- Prep Time: 110 minutes
- Cook Time: 12 minutes
- Category: Side Dish
- Method: Baking
- Cuisine: Italian
Nutrition
- Serving Size: 1 breadstick
- Calories: 200
- Sugar: 2g
- Sodium: 400mg
- Fat: 6g
- Saturated Fat: 2g
- Unsaturated Fat: 4g
- Trans Fat: 0g
- Carbohydrates: 32g
- Fiber: 1.5g
- Protein: 4g
- Cholesterol: 0mg