
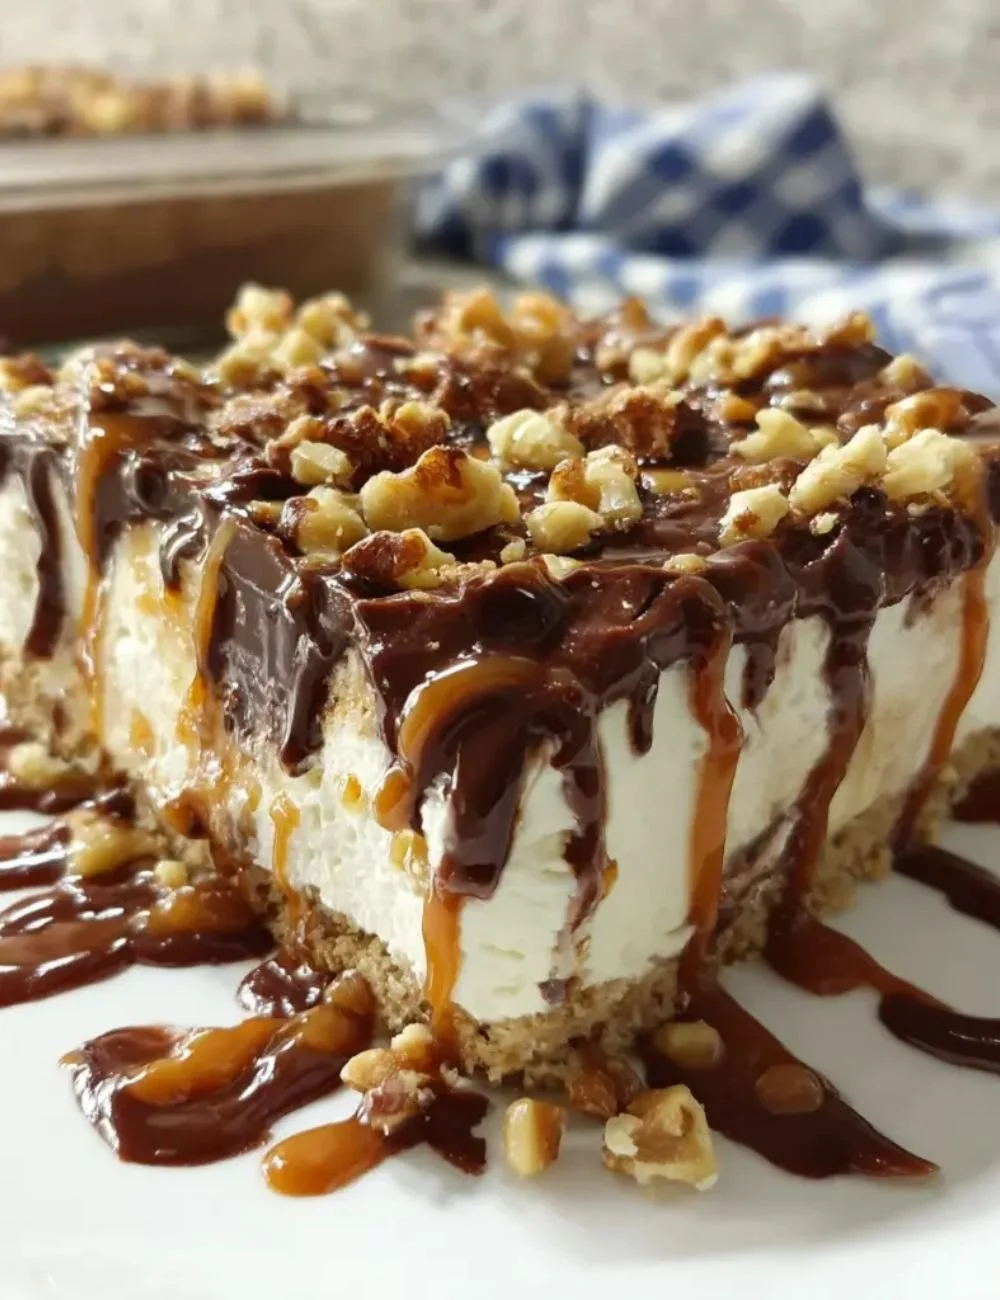
Drumstick Ice Cream Cake is a delightful frozen dessert that brings together the comforting flavors of vanilla and chocolate ice creams with a crunchy twist. This cake mimics the classic drumstick ice cream cone and is sure to be a hit at parties or family gatherings. With its layers of delicious ice cream and toppings, each slice is a heavenly treat that melts in your mouth.
Recipe Information
- Prep Time: 15 minutes
- Cook Time: 0 minutes
- Total Time: 2-4 hours (including freezing time)
- Servings: 8
- Difficulty Level: Easy
Nutrition Information
- Calories per serving: Approximately 320
- Protein: 5 grams
- Carbohydrates: 34 grams
- Fat: 18 grams
- Fiber: 1 gram
- Sugar: 22 grams
- Sodium: 150 mg
Why Make This Drumstick Ice Cream Cake
Drumstick Ice Cream Cake is perfect for ice cream lovers looking for a fun and visually appealing dessert. It combines smooth and creamy ice cream with the satisfying crunch of chocolate wafers and nuts. This dessert is not just easy to prepare but also offers a nostalgic taste that reminds many of summer nights or childhood treats. Additionally, it is highly customizable, allowing you to switch up ingredients based on your preferences or what’s available in your pantry.
How to Make Drumstick Ice Cream Cake
Ingredients:
- 1 quart vanilla ice cream
- 1 quart chocolate ice cream
- 1 cup chocolate sauce
- 1 cup crushed nuts (such as peanuts or almonds)
- 1 package chocolate wafers
- 1 can whipped cream
- Maraschino cherries for garnish
Directions:
Step 1: Preparation
Allow the vanilla and chocolate ice cream to soften slightly. This makes it easier to spread in the pan. Prepare a rectangular or square cake pan by ensuring it’s clean and dry.
Step 2: Layering Vanilla Ice Cream
Spread half of the softened vanilla ice cream evenly on the bottom of the prepared cake pan. Using a spatula helps to create an even layer easily.
Step 3: Adding Layers of Flavor
Drizzle some chocolate sauce over the vanilla layer and sprinkle with crushed nuts. This adds a delicious chocolatey flavor and a crunchy texture.
Step 4: Layering Chocolate Ice Cream
Add a layer of chocolate ice cream on top of the nut and chocolate sauce mixture, spreading it evenly to ensure every slice has a good mix of flavors.
Step 5: Creating the Crunchy Top
Arrange chocolate wafers on top of the chocolate ice cream layer. This will give your cake a wonderful crunch that mimics the classic drumstick.
Step 6: Freezing the Cake
Freeze the cake for at least 2-4 hours or until it solidifies completely. This step is crucial for achieving the perfect cake texture.
Step 7: Finishing Touches
Once set, spread whipped cream over the top of the cake. Garnish generously with Maraschino cherries for a lovely pop of color and sweetness.
Step 8: Serving
Slice, serve, and enjoy your Drumstick Ice Cream Cake! Each slice promises a delightful combination of flavors and textures.
How to Serve Drumstick Ice Cream Cake
Serve the Drumstick Ice Cream Cake as a fun dessert at birthday parties, family gatherings, or summer barbecues. Pair with additional chocolate sauce or a scoop of your favorite ice cream for an extra treat. It’s best enjoyed with friends and family, where everyone can share in the joy of this delightful dessert.
How to Store Drumstick Ice Cream Cake
To store the Drumstick Ice Cream Cake, cover it tightly with plastic wrap or place it in an airtight container. It can be stored in the freezer for up to one month. When you’re ready to enjoy it again, let it sit at room temperature for a few minutes before slicing to make serving easier.
Expert Tips for Perfect Drumstick Ice Cream Cake
- Allow your ice cream to sit out of the freezer for about 10 minutes before spreading it; this will make it more manageable.
- Use a hot knife to slice through the cake; running under hot water will help the blade glide through smoothly.
- Feel free to mix and match the ice cream flavors; mint chocolate chip, strawberry, or coffee also make excellent choices.
- If you want a dairy-free version, try using coconut or almond milk ice cream.
- Make it a festive treat by adding colorful sprinkles on top along with the whipped cream and cherries.
Delicious Variations
- Nut-Free Version: Omit the nuts and substitute with cookie crumbles for an equally delightful crunch.
- Fruit-Infused Layer: Add a layer of sliced fresh strawberries or bananas between the ice cream layers for added flavor and nutrition.
- Chocolate Lover’s Dream: Incorporate chocolate chips throughout the ice cream layers for added richness.
Frequently Asked Questions
- Can I use homemade ice cream for this recipe?
Yes! Homemade ice cream works beautifully in this recipe and will add a unique touch. - How long can I keep this cake in the freezer?
The cake can last up to a month in the freezer, though it’s best enjoyed sooner for the best texture. - Can I make this cake ahead of time?
Absolutely! You can prepare it a day or two in advance, just make sure it’s well-covered in the freezer. - What can I use if I don’t have chocolate wafers?
You can use graham crackers, Oreo cookies, or any crisp cookie for a similar crunch. - Is there a suggestion for a gluten-free version?
For a gluten-free version, simply choose gluten-free cookies and confirm your ice cream is gluten-free as well.
Conclusion
Drumstick Ice Cream Cake is a delightful and easy-to-make dessert perfect for any occasion. Its layers of ice cream, crunchy nuts, and chocolate wafers create a harmonious blend of flavors and textures. Whether you’re celebrating a birthday or enjoying a quiet summer evening, this dessert is sure to bring smiles all around. So gather your ingredients, invite loved ones, and savor every delightful bite of this sensational treat!
Print
Drumstick Ice Cream Cake
- Total Time: 120 minutes
- Yield: 8 servings 1x
- Diet: Vegetarian
Description
A delightful frozen dessert combining the flavors of vanilla and chocolate ice creams with a crunchy twist, mimicking a classic drumstick ice cream cone.
Ingredients
- 1 quart vanilla ice cream
- 1 quart chocolate ice cream
- 1 cup chocolate sauce
- 1 cup crushed nuts (such as peanuts or almonds)
- 1 package chocolate wafers
- 1 can whipped cream
- Maraschino cherries for garnish
Instructions
- Allow the vanilla and chocolate ice cream to soften slightly for easier spreading.
- Spread half of the softened vanilla ice cream evenly in a prepared cake pan.
- Drizzle chocolate sauce over the vanilla layer and sprinkle with crushed nuts.
- Add a layer of chocolate ice cream on top, spreading evenly.
- Arrange chocolate wafers on top of the chocolate ice cream layer.
- Freeze for at least 2-4 hours until solidified.
- Spread whipped cream on top and garnish with Maraschino cherries.
- Slice, serve, and enjoy!
Notes
Allow ice cream to sit out before spreading; use a hot knife for easier slicing.
- Prep Time: 15 minutes
- Cook Time: 0 minutes
- Category: Dessert
- Method: Freezing
- Cuisine: American
Nutrition
- Serving Size: 1 serving
- Calories: 320
- Sugar: 22g
- Sodium: 150mg
- Fat: 18g
- Saturated Fat: 10g
- Unsaturated Fat: 8g
- Trans Fat: 0g
- Carbohydrates: 34g
- Fiber: 1g
- Protein: 5g
- Cholesterol: 0mg